Now that you have learned the fundamental features of FreeAuth, you are capable of efficiently managing all of your users. However, in some instances, user management alone may not be sufficient. Many systems and software have their own access control to distinguish between users' capabilities. Additionally, some may even offer a specific organizational structure to enhance users' identities and more dimensions to group them. Let's get this section started with organization management.
Organization Structure
Organizational structure is the method by which work flows through an organization and allows groups to work together within their individual functions to manage tasks. If your project does not involve an organizational structure, meaning there are no organizations, companies, or departments in your system, feel free to skip this part and move on to the next one
角色管理.
To access the organizational structure page, click on the option 组织管理 in the left sidebar menu. The content consists of two sections: a tree graphic on the left for maintaining the organizational hierarchy and a table on the right for managing the users associated with the selected organization on the left.

Organization Type
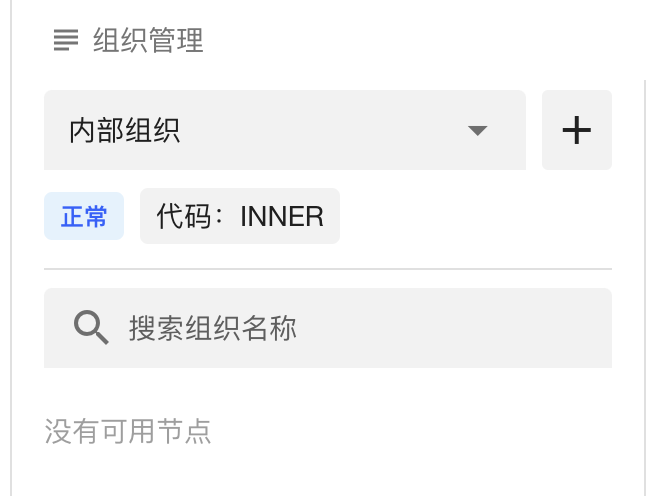
Let's begin by discussing the left section. At the top row, there is a selector with the default selected option 内部组织. This selector is a selector for switching between different organization types. You can consider organization types as containers for different kinds of users. We define内部组织 as the default type that is automatically generated when you set up the system because FreeAuth supposes most people tend to establish an organizational structure for their inner group first.
However, FreeAuth also allows you to create other types for organizations. For example, if you need to build an organizational hierarchy for your suppliers or stores that operate on your platform, we recommend creating a new organization type for them first.
| Default | Click + |
|---|---|
 | 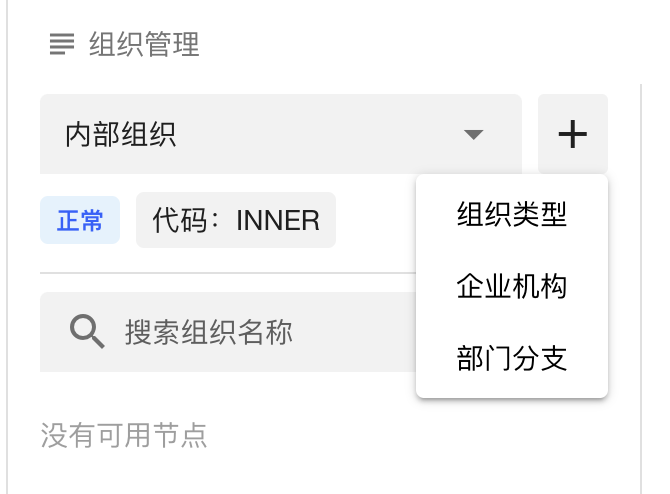 |
To do so, click on the icon + beside the types selector. The first item on the dropdown menu is the one for creating a new organization type. Click on 组织类型 to open the form for the new type.
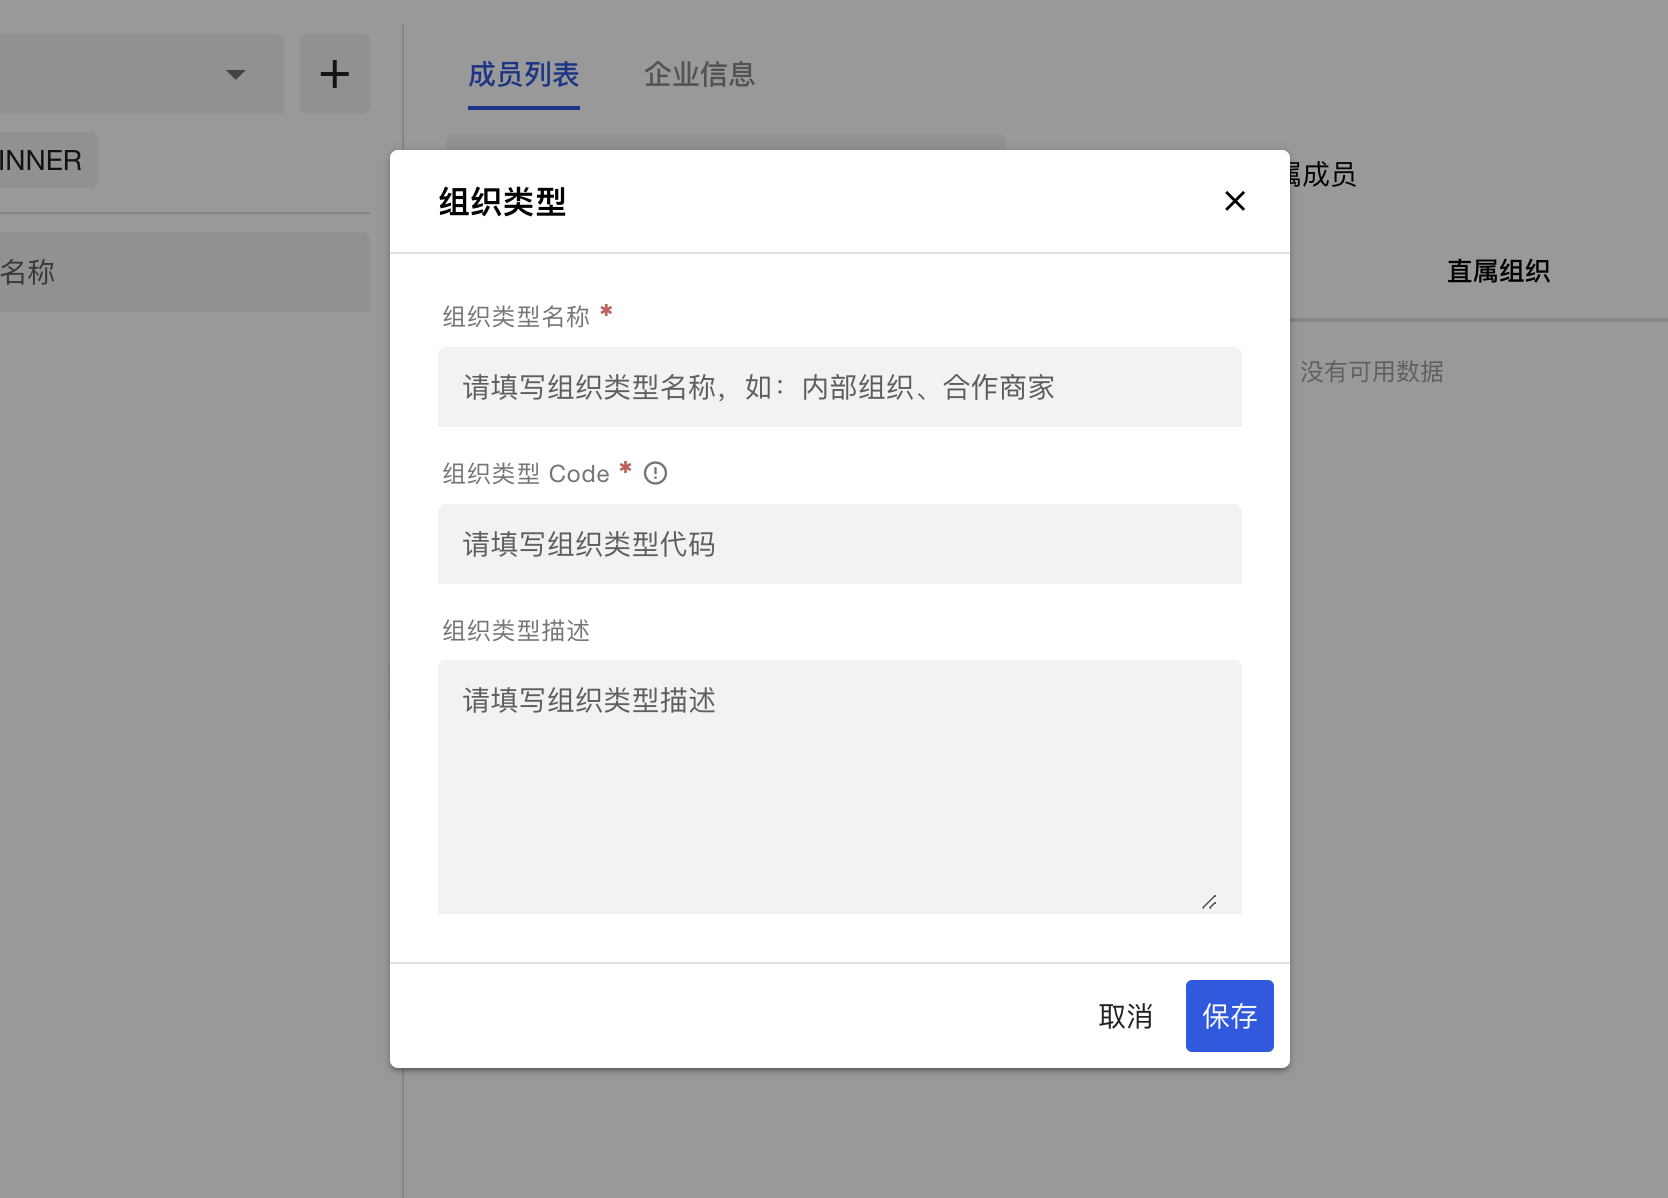
Of course, here, we intend to create a new organization type named 供应商. So, enter 供应商 in the first input box. You are also requested to define a code for this type.
By using a type's meaningful code, such as "SUPPLIER" instead of its meaningless uuid, it will be easier for developers to write in case they need to do something special with a specific organization type.
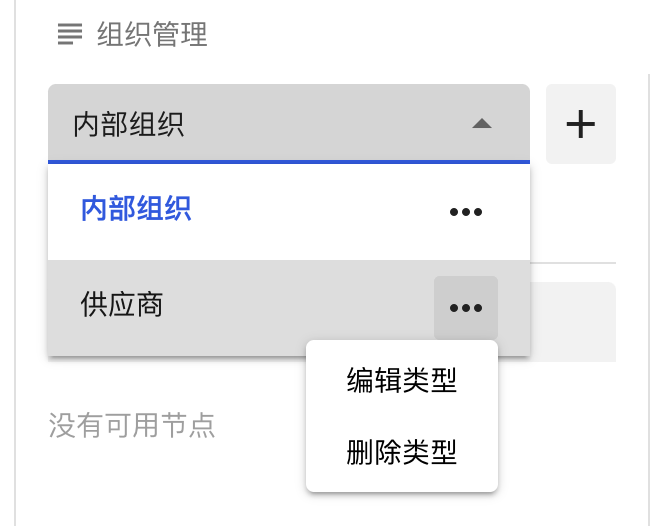
Once you have filled out and saved the form, the new type will be created and added to the organization type selector we mentioned above. Note that each option in the selector has an icon ··· at the end. Click on it, and then you can edit the corresponding type or even delete it if needed.
Structure Tree
In the organization management panel, you may have noticed the text at the bottom of the left section is 没有可用节点. Usually, there should be a tree graphic displaying the organizational structure, but since we haven't created any organizations yet, it's currently empty. Let's learn how to create organizations and establish a structure for them.
To begin, let's add some suppliers under the type 供应商. First, select 供应商 as the organization type, then click the icon + next to the type selector again. The second item in it will prompt a form dialog for creating a new organization.
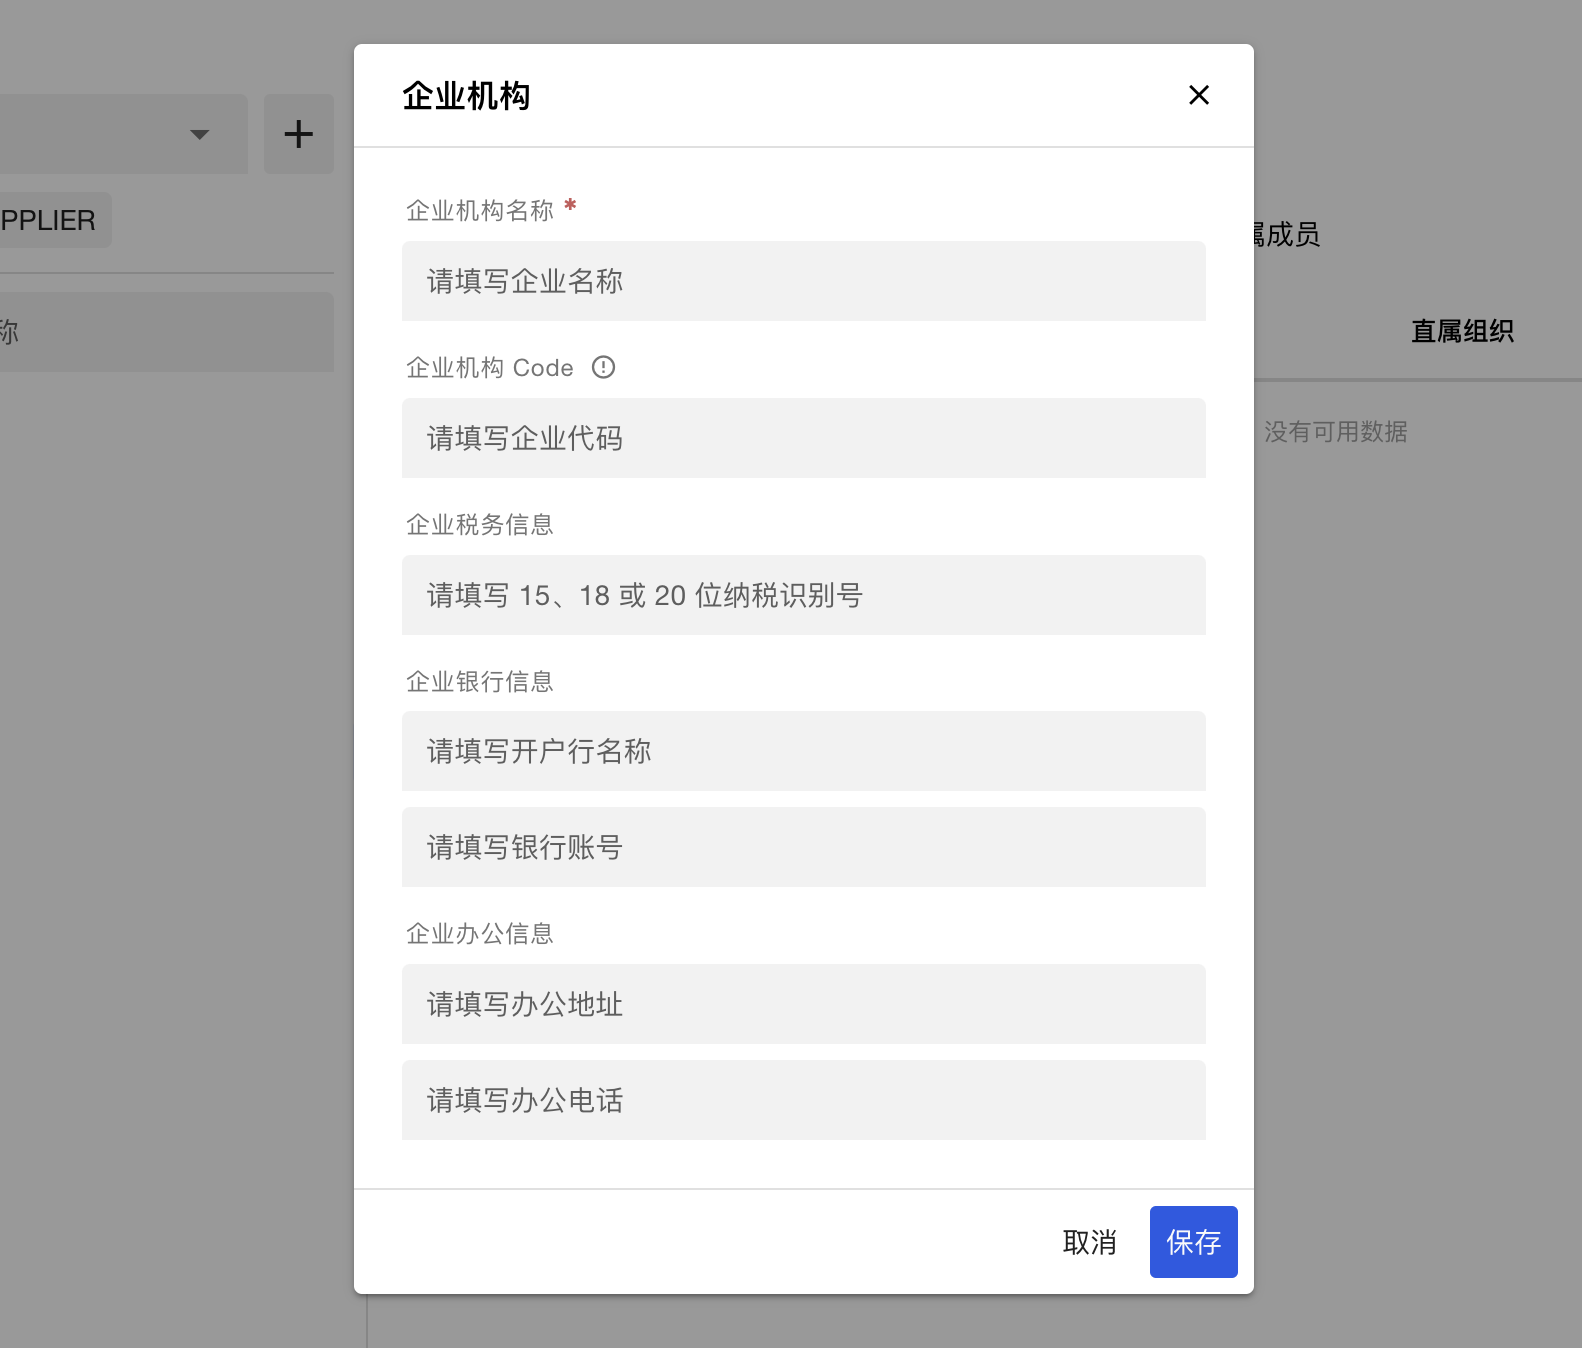
The form above requires only the name, as we don't mean to limit the organization to a specific company. It can be a club, a group, or even a government unit. However, since most products treat this first level in the organizational hierarchy as the company level, we also offer additional fields related to the company.
Now, let's enter 百晓科技(北京)有限公司 as an example, and click on the save button. Once created, it will appear on the structure tree as a root node.
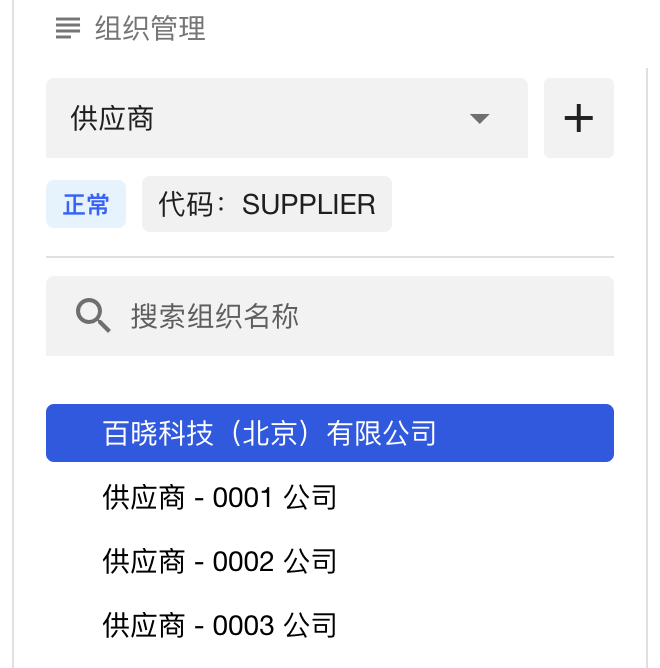
Then, let's learn how to create a new branch for a specific organization or department. There are two ways to do this:
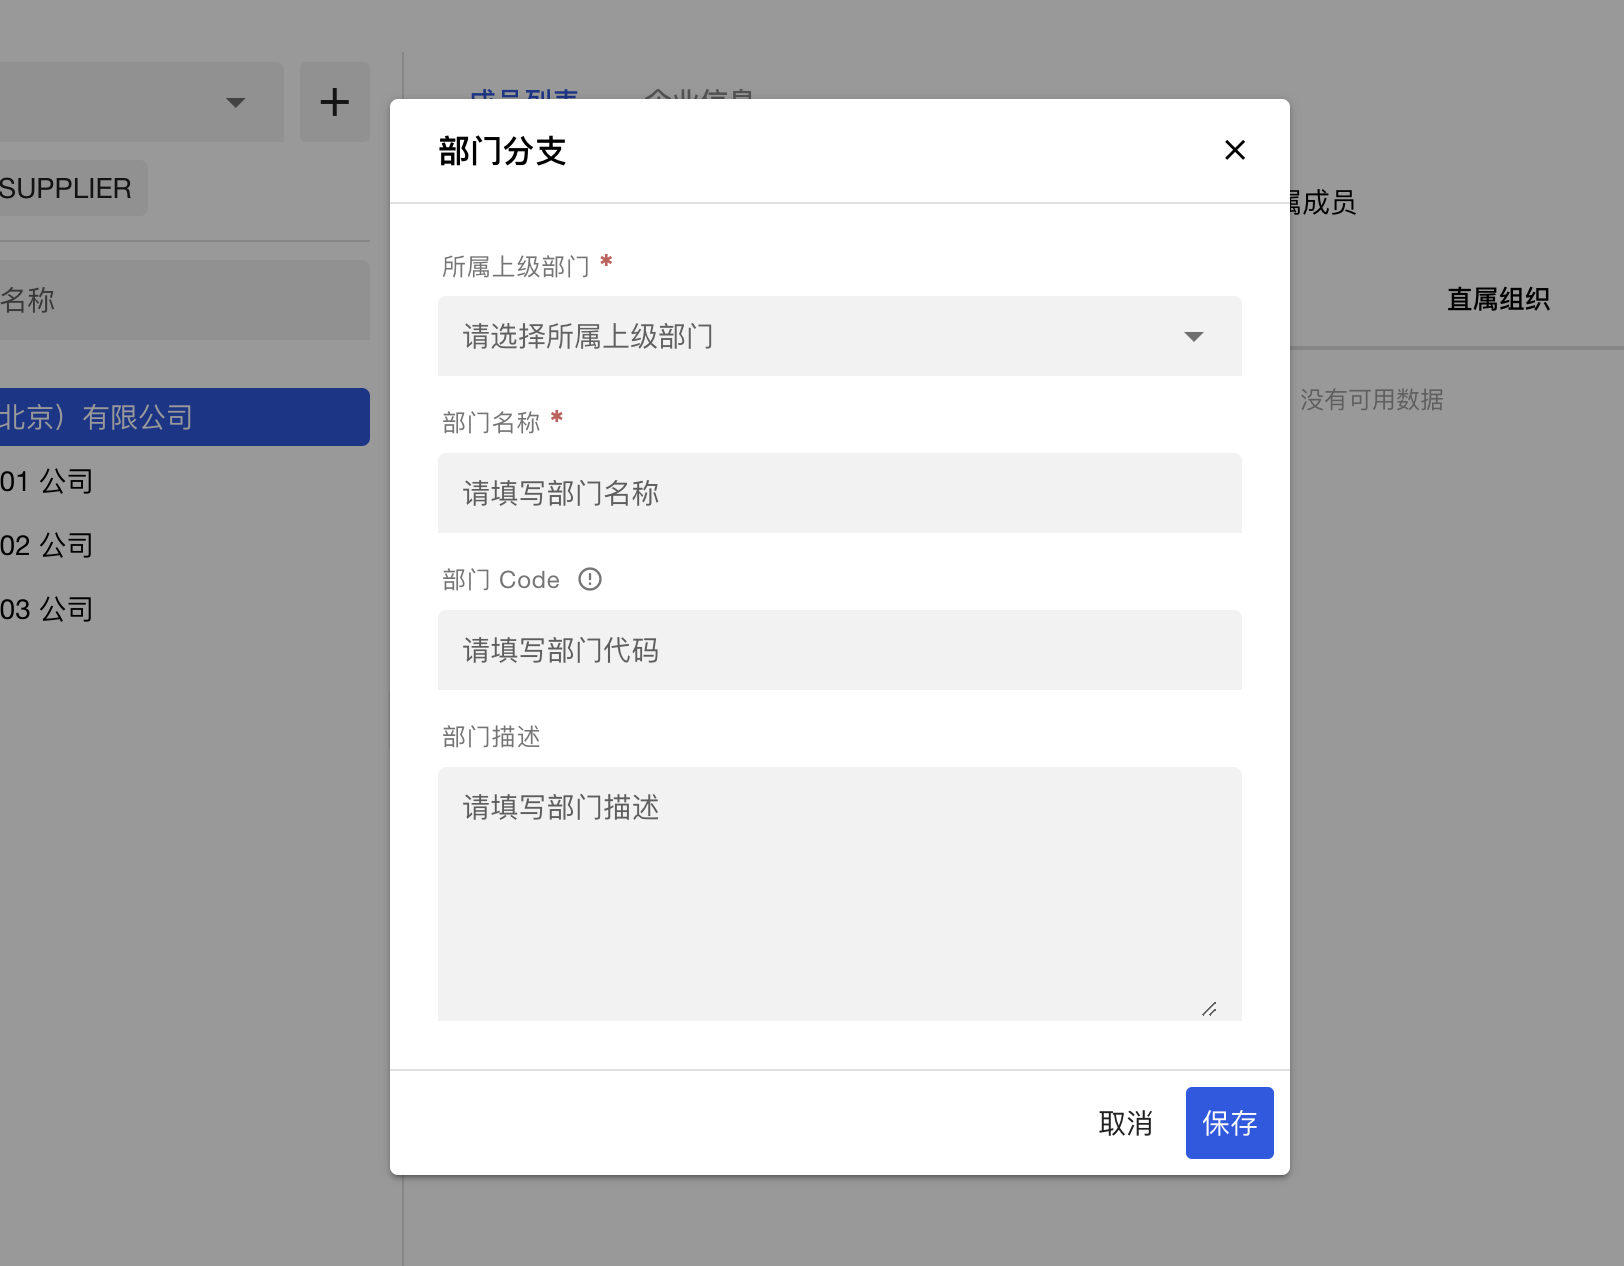
First, again, click on the icon + next to the organization type selector. The third item is 部门分支, which will open a form for creating a new branch. Select the superior organization, which could be the root organization or a sub-organization, like a branch or a department.
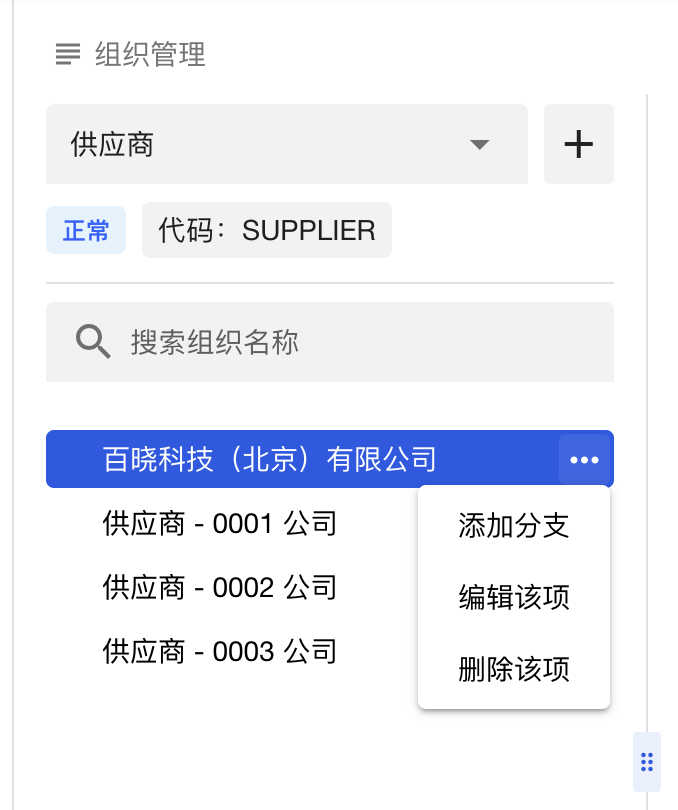
Second, to create a new branch in the organizational structure tree, you hover over the node where you plan to add a branch. Then, the icon ··· will show up at the end of the node item. Click on it to access three action options, which are 添加分支 to create a new subordinate branch under the hovered organization; 编辑该项 to update the organization's information; 删除该项 to delete the organization.
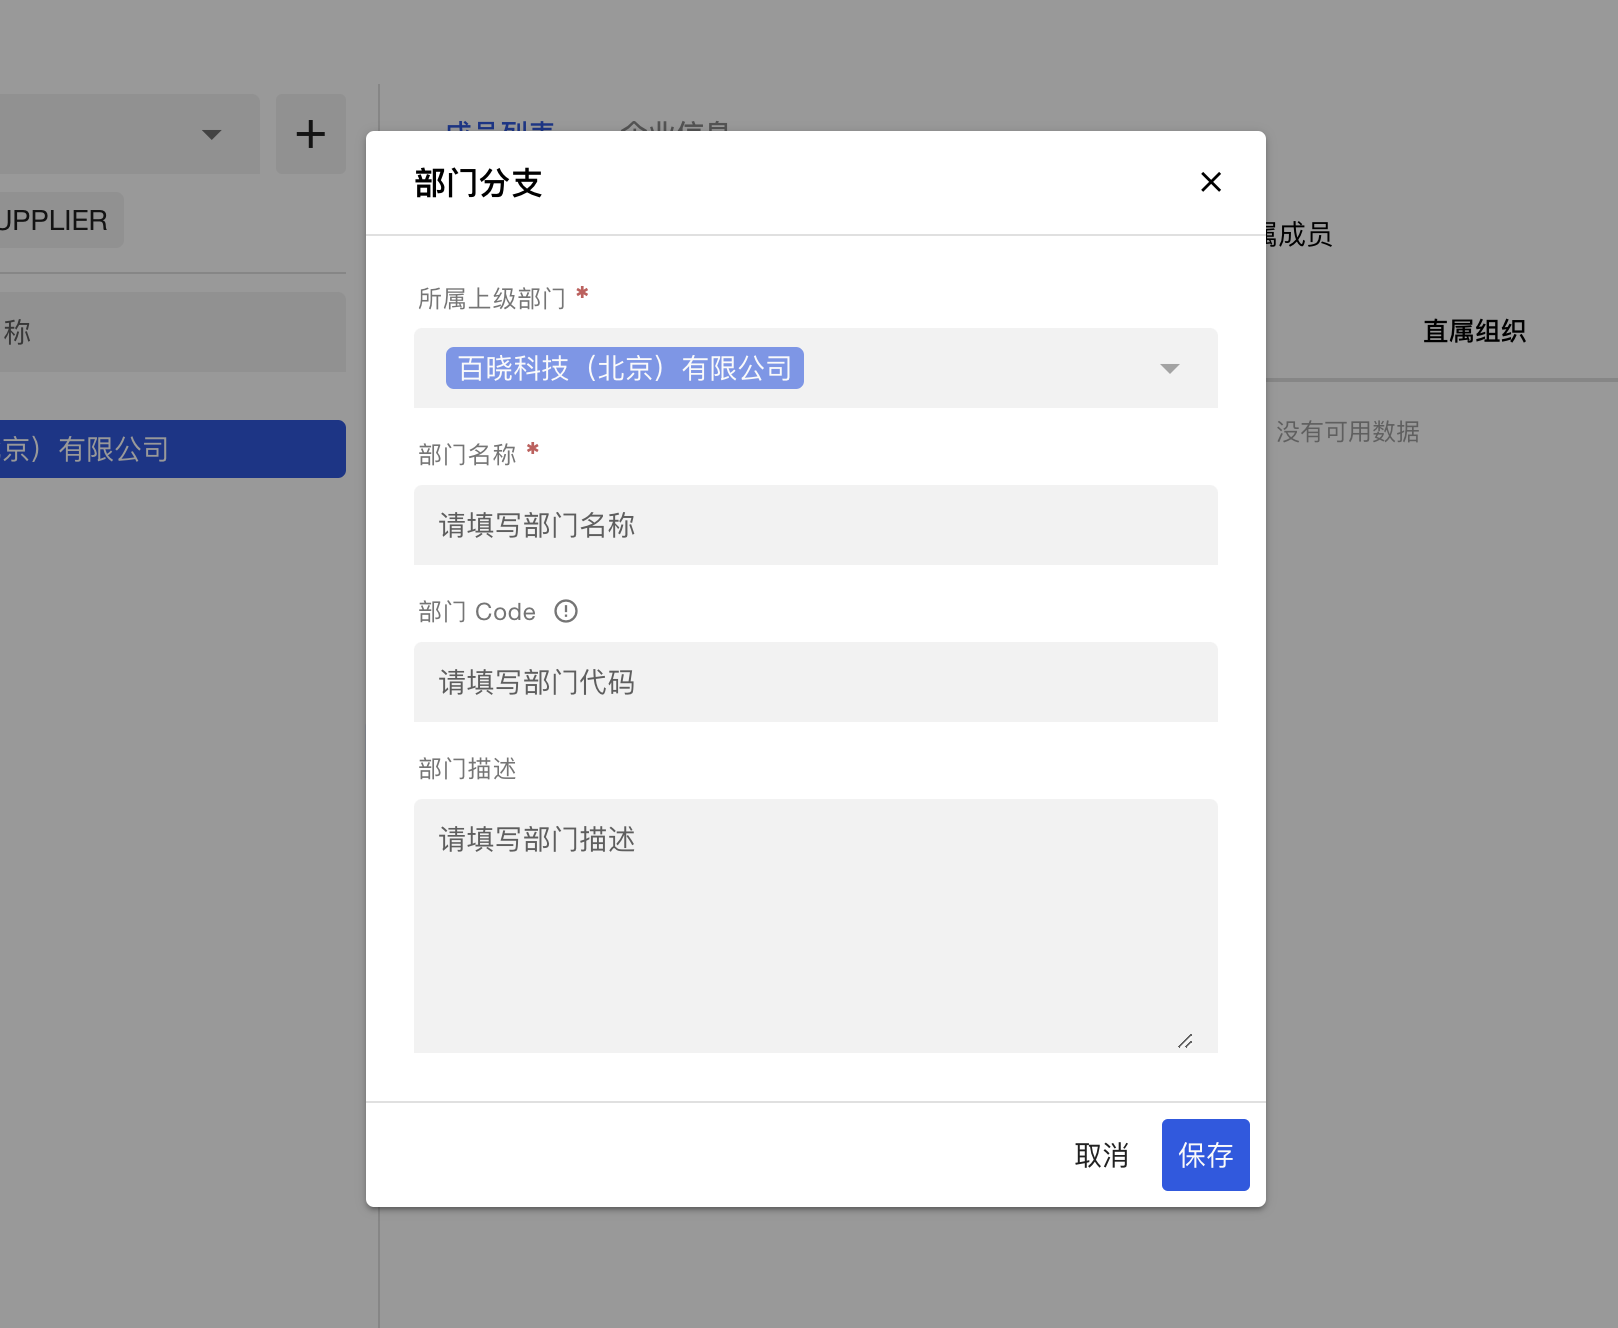
Click on 添加分支, a form similar to the image above shows up. The only difference is that the input box for the superior is filled by default and read-only because you triggered this form by clicking a specific node on the tree.
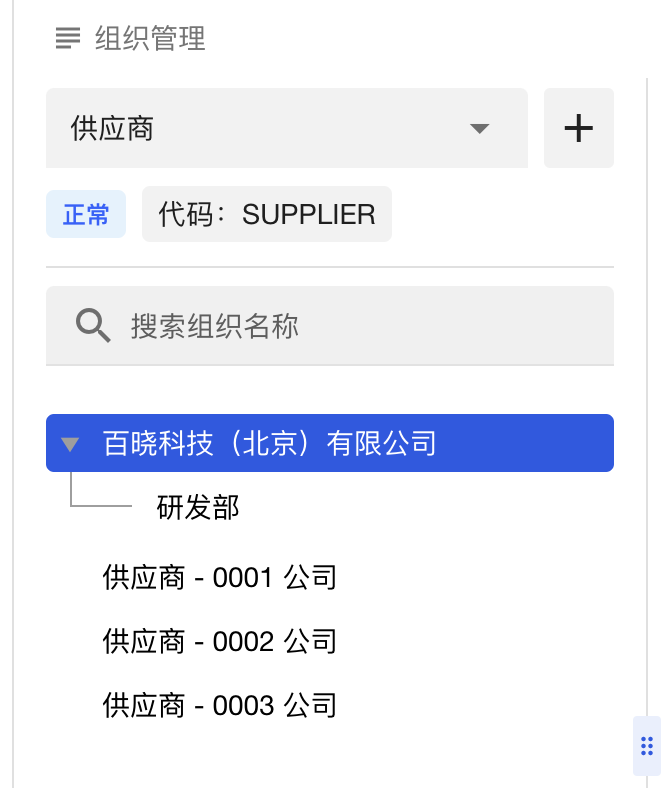
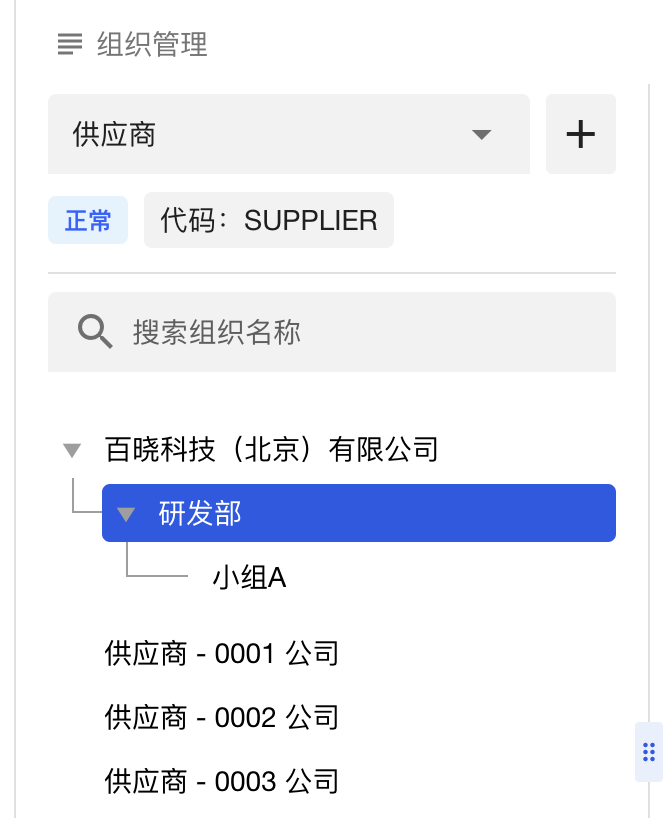
As an example, if we enter 研发部 in the name box and save the form, the organizational structure tree on the left of the panel will immediately get updated. As a result, the tree diagram shows that the enterprise 百晓科技(北京)有限公司 has a department named 研发部. Similarly, to add a new branch under 研发部, hover over 研发部 and click on the icon at the end. This allows you to create a new branch for a sub-organization. Theoretically, it is possible to add multiple tiers but be aware that too many tiers may cause performance issues for the tree.
| Before | After |
|---|---|
 |  |
Again, note that the first layer does not have to be a company; it can represent any kind of organization. Its only requirement is to have a name.
User Table
As the organizational structure is ready, it's time to associate users with their respective organizations. Firstly, select the organization you want to associate with from the tree on the left. Secondly, click the button 添加成员 on the top right of the user table in the right section. The form facing you supports two situations to link a user to the selected organization.
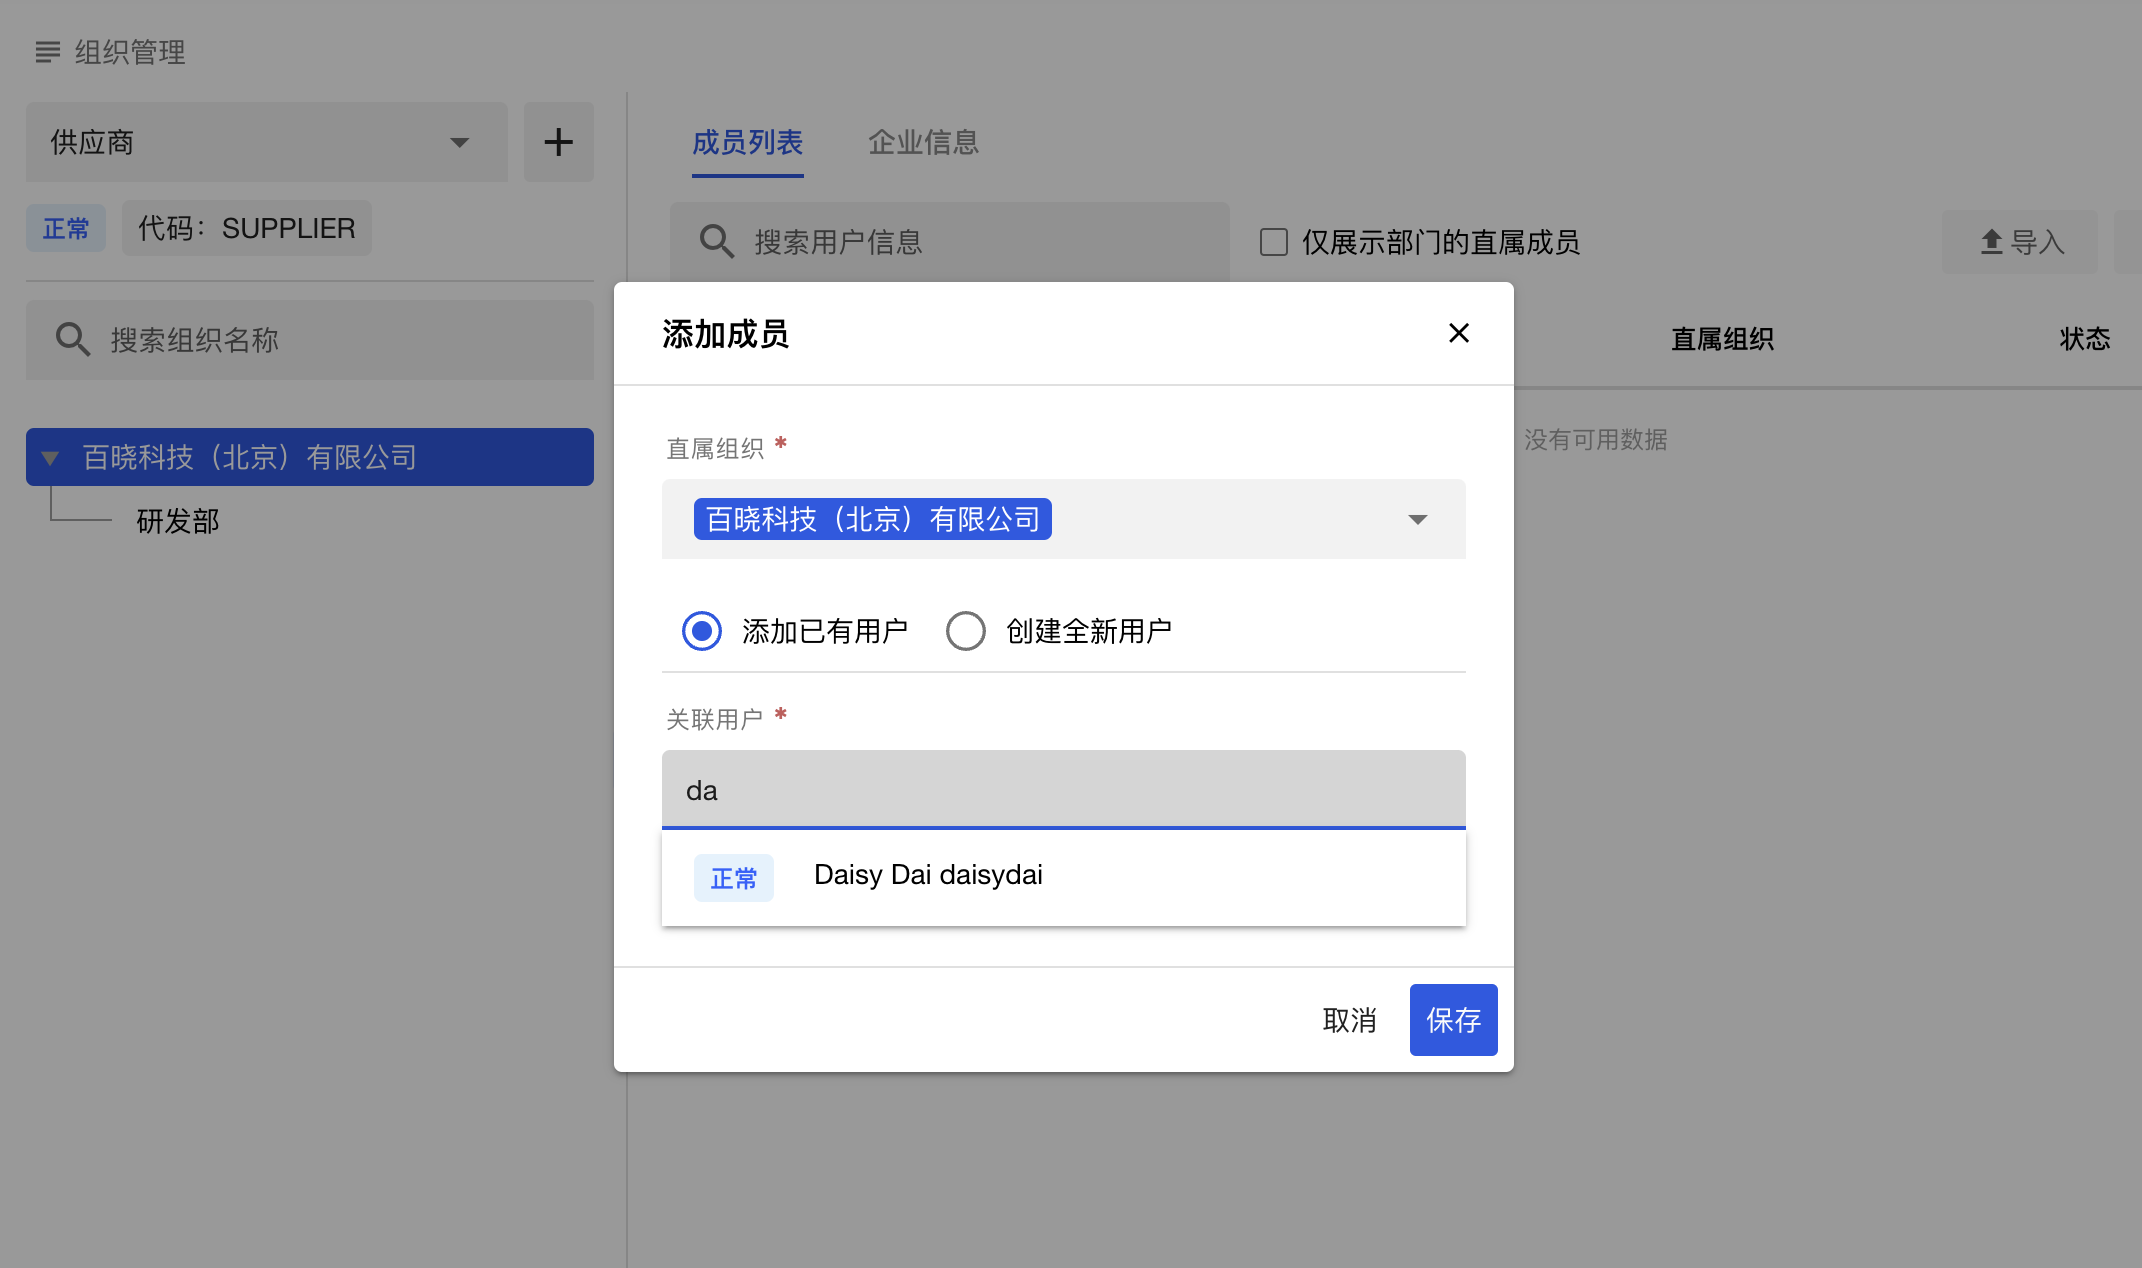
The first situation is when the user is already in the system, which means their account can be found in the user management table. In this situation, you only need to enter the target user's name in the input box at the bottom of the form. The system will perform the fuzzy search and list all relevant options below the input box. Select the appropriate users and click the save button to establish the relationships.
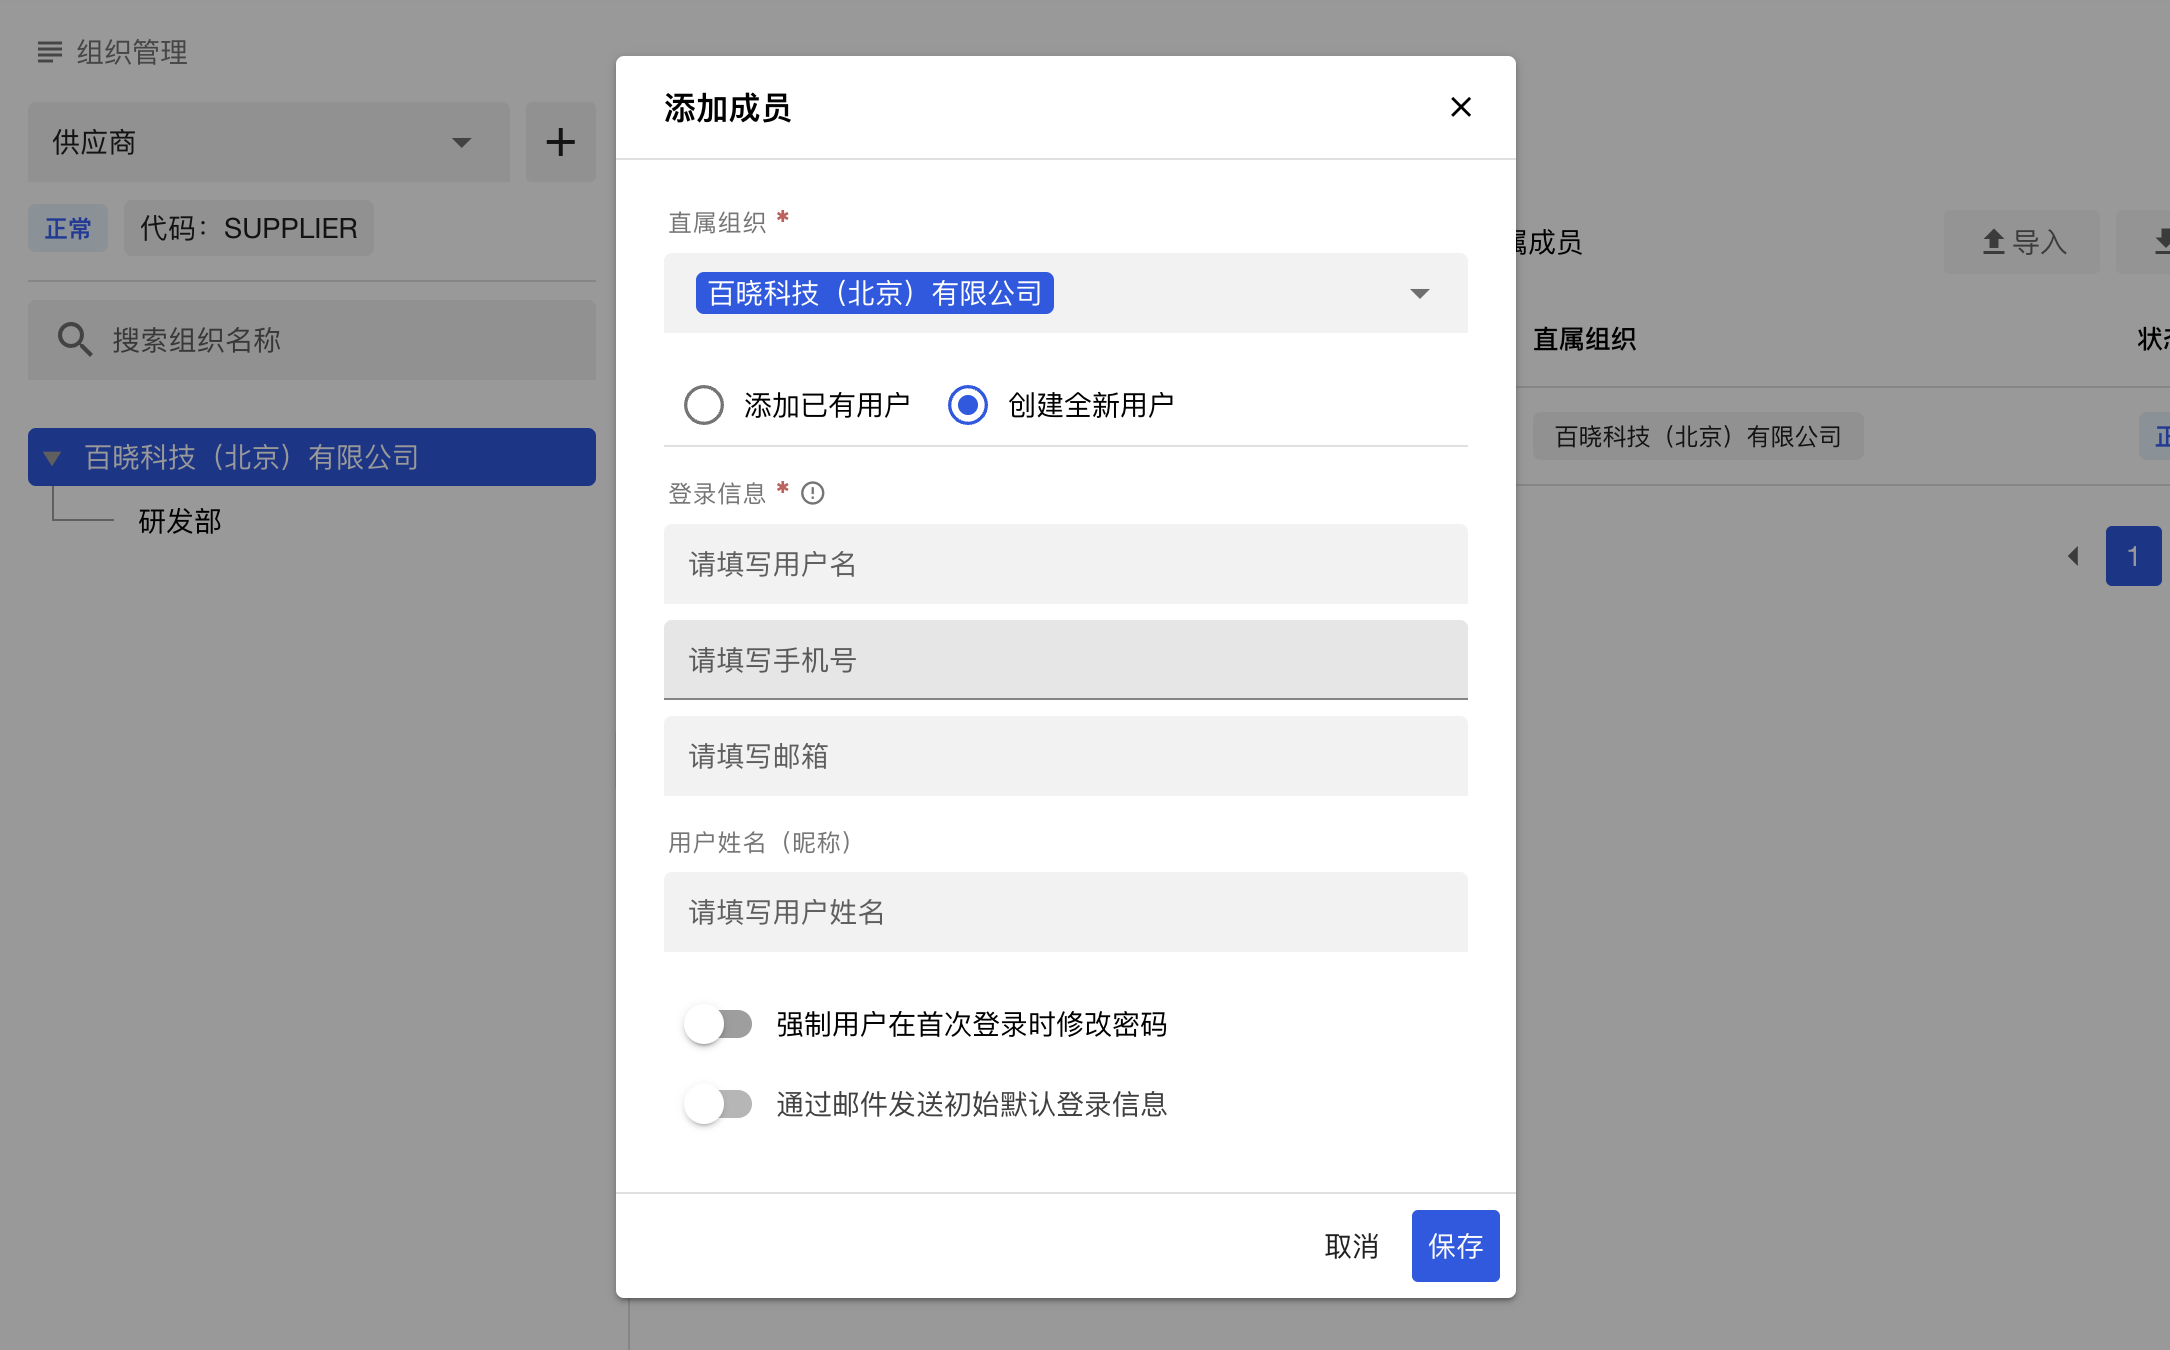
The second situation is that you want to add a user who doesn't exist in the system to an organization. In this case, you need to select the radio button 创建全新用户 to switch to the form for adding a new user. As you can see, this form is similar to the previous new user form. Once you fill out the required information and save it, the system will create a new user and build a relationship between that user and the selected organization. As a result, this new user will appear in both the user table on the current page and the user management page.

Regarding the user table on the right section of the current panel, like other tables, each row has an action cell at the end. Click on the icon ···, several action options will be provided.

- 禁用账号/deactivate: This is only shown when the account is in the state of
正常; Click on it will change the status of the account to停用; - 启用账号/enable: This is only shown when the account is in the state of
停用; Click on it will change the status of the account to正常; - 变更组织/transfer: This allows you to update the organization to which the user belongs.
- 办理离职/resign: This can be used to unbind all relationships between the user and associated organizations and deactivate the account at the same time.
Additionally, different from other tables, a checkbox named 仅展示部门的直属成员 is located next to the search box. Ticking this box will only display users directly linked to the selected organization on the structure tree. However, if the checkbox is not checked, the results will also show users who are related to sub-branches of the selected organization. For example, in the image below, both Xenia Lu and Daisy Dai will be displayed by default, even though Xenia Lu does not directly link to the selected organization 百晓科技(北京)有限公司 but belongs to one of its departments, 研发部. However, if you tick the checkbox, only Daisy Dai will be displayed in the table, as she is directly linked to the selected organization.

Enterprise Table
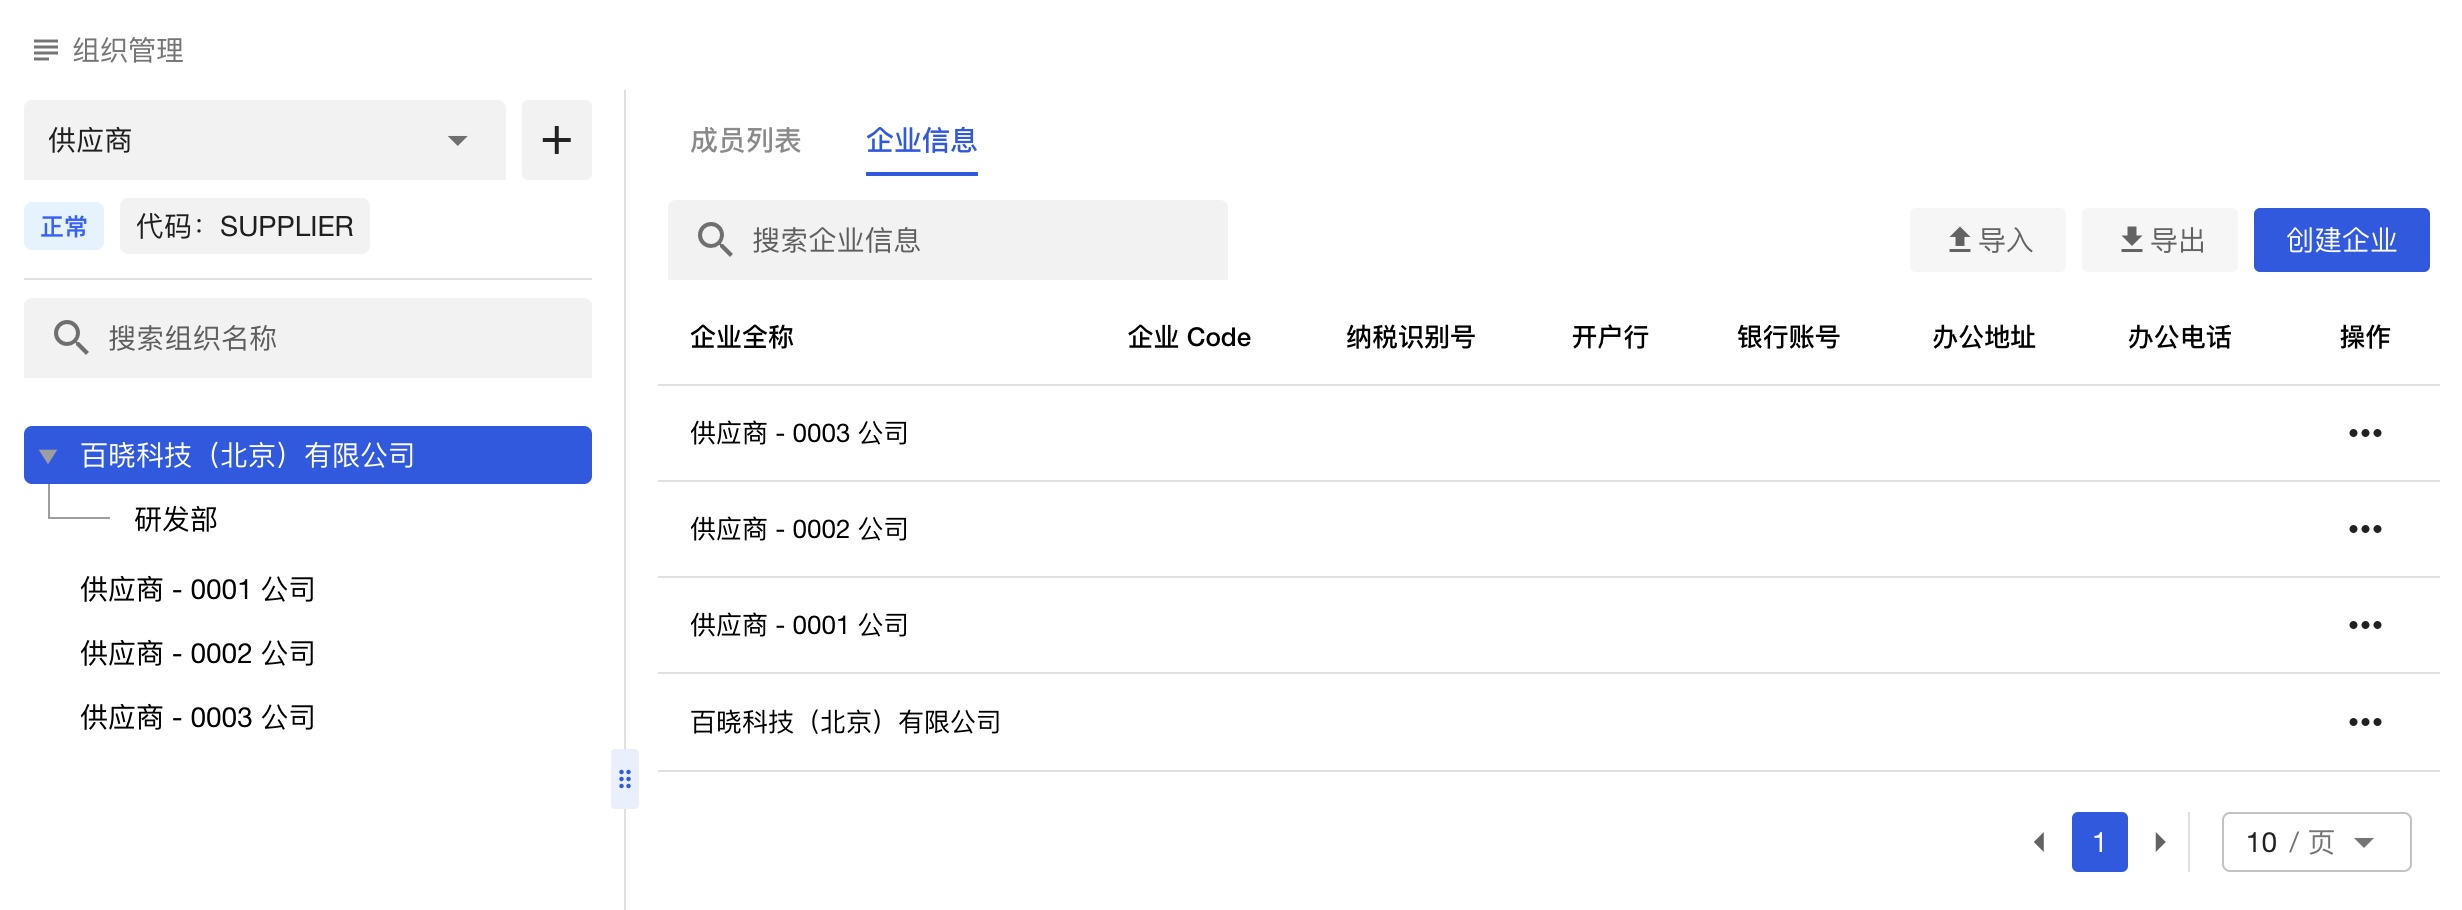
In the right part of the current panel, apart from the user table, there is another table under the tab 企业信息 displaying all enterprises under the selected organization type in the left part.
If your system doesn't involve the concept of enterprise, feel free to skip this section. However, If it does, this is a great place to review information on all enterprises under a particular organization type. For example, the following image shows all enterprises under the type 供应商. Likewise, you can create a new enterprise and edit any existing one from this table.
Bind/Unbind User
To manage the relationships between users and organizations in FreeAuth, there are two places available. One is that we have mentioned earlier in the "User Table" part of this section. The other one is on the user details page. Firstly, go into the details page of a user, and switch the tab to 组织归属. All the associated organizations will be listed in the panel.

To remove an organization from the user's profile, click on the last cell of the organization's data row, which is the action cell. Then, you will see the button 移除组织, which is the one to unbind their connection.

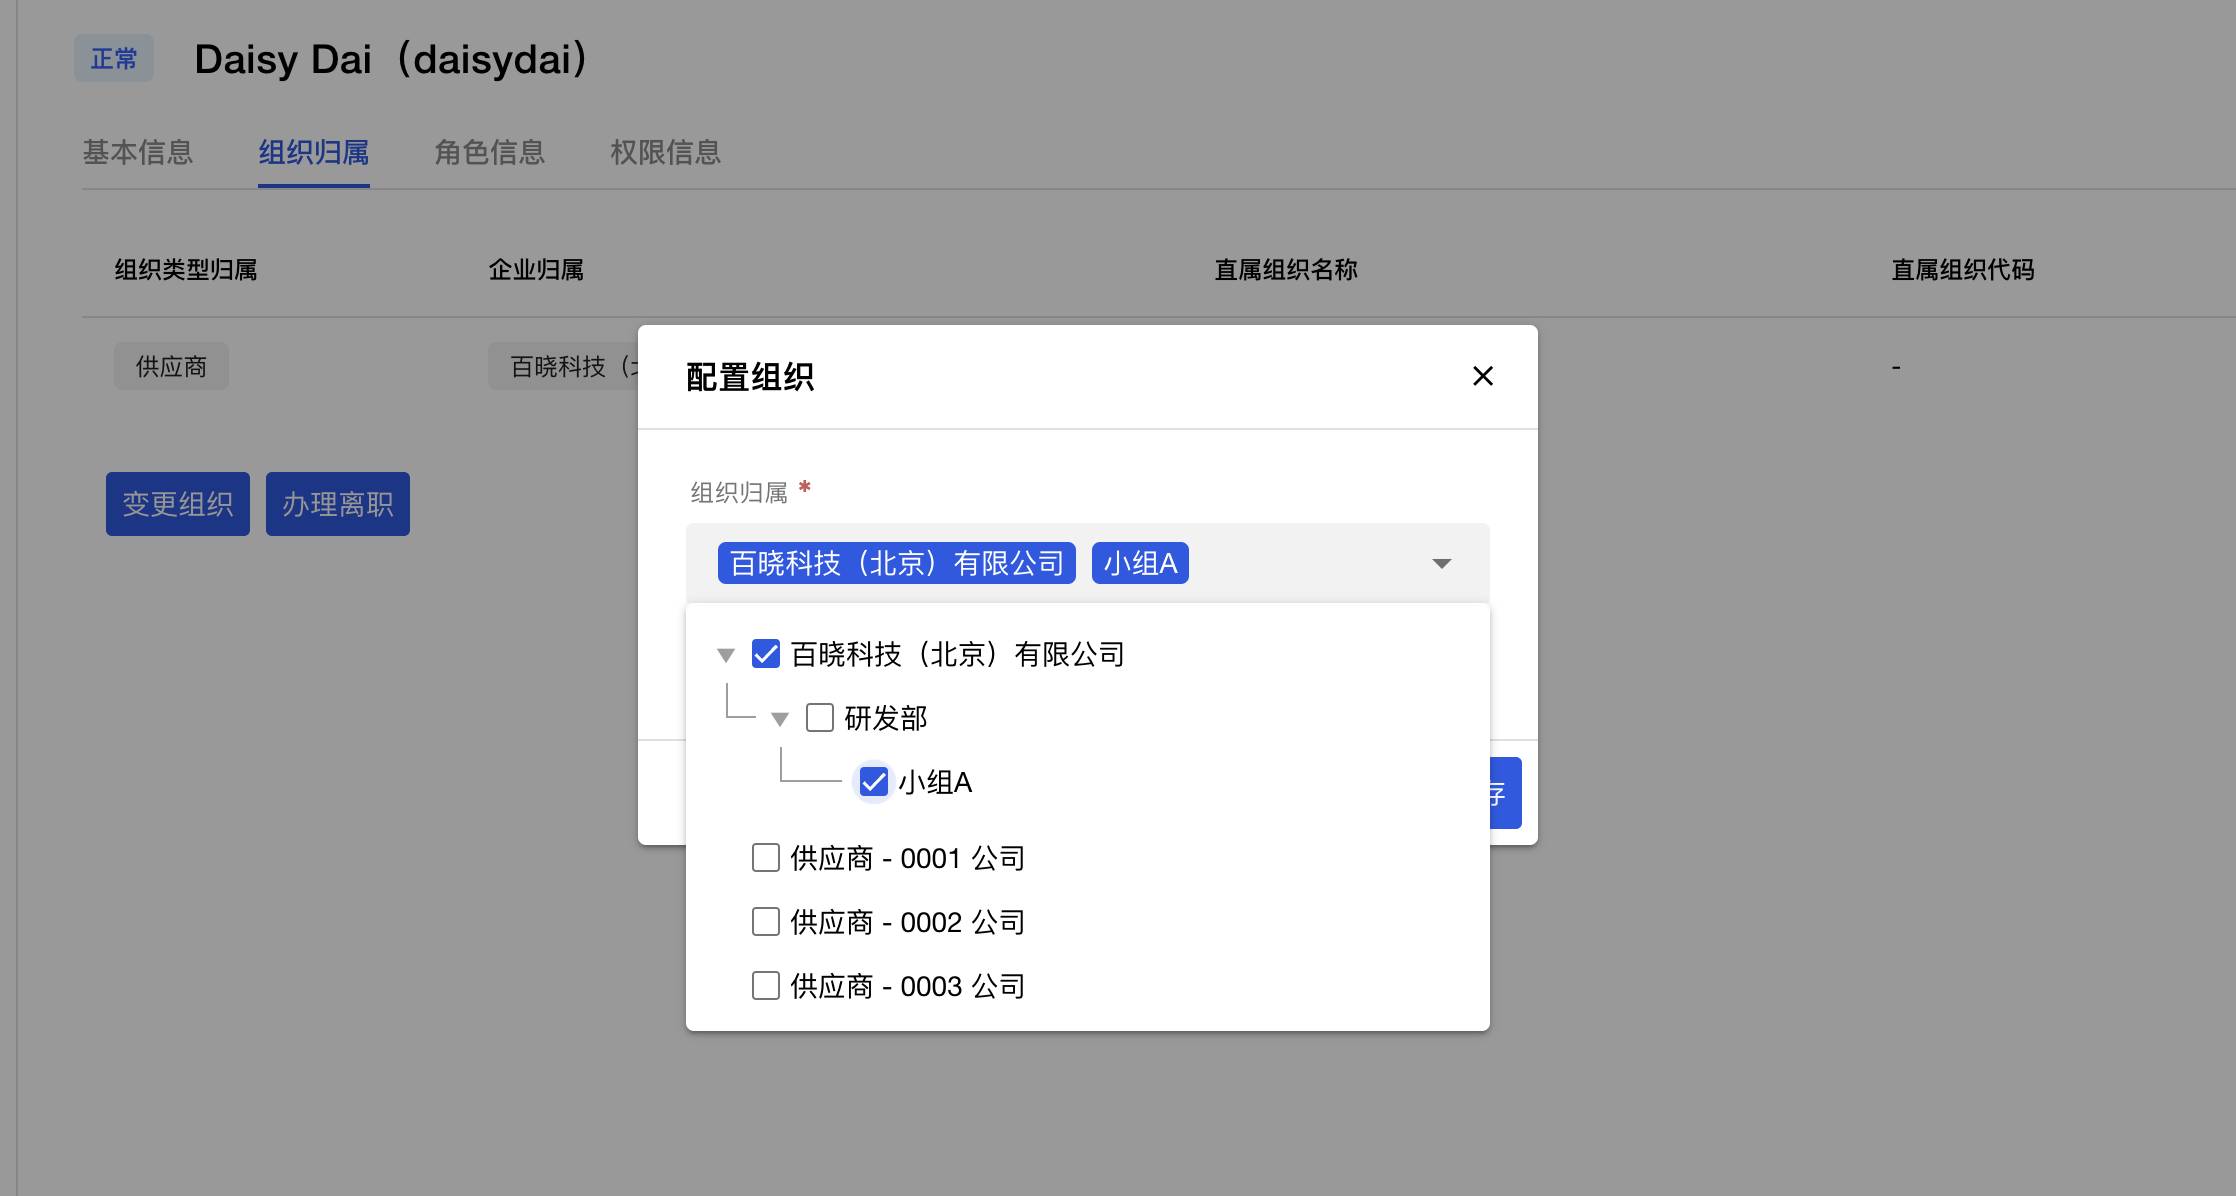
To change a user's organization information, click on the button labeled 变更组织, and then you will see the form below. Keep in mind that one user can belong to multiple organizations but with the same organization type.
